
How to Perform CPR on an Infant and a Child (0-12 months)
Knowing how to perform CPR on an infant or how to perform CPR on a child is one of the most valuable life-saving skills a parent, grandparent, teacher, childcare worker or carer can learn.
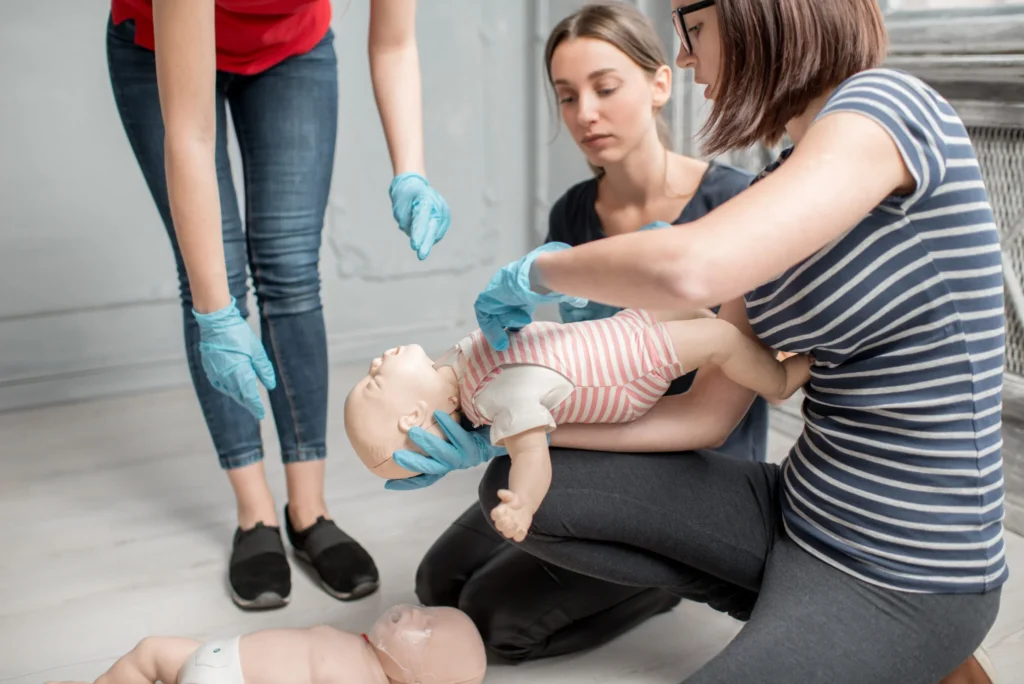


In Short
- Performing CPR on an infant or child could save a life. Early CPR helps keep oxygen-rich blood flowing to the brain and vital organs until emergency medical help arrives.
- Follow the DRSABCD Action Plan. This nationally recognised emergency response framework guides you through assessing the situation, calling for help, and starting CPR in the correct order.
- The CPR sequence is the same for infants and children. Give 5 initial rescue breaths, followed by 30 chest compressions and 2 rescue breaths, repeating the cycle until help arrives or the child starts breathing normally.
- Infant and child CPR techniques differ slightly. Infants require a neutral head position, two-finger chest compressions and gentler rescue breaths, while older children use a head tilt and chin lift, deeper compressions and one or two hands depending on their size.
Cardiac arrest in babies and children is uncommon, but it can happen suddenly following choking, drowning, severe asthma, allergic reactions, illness or trauma, and when it does, every second matters.
Cardiopulmonary resuscitation (CPR) helps keep oxygen-rich blood flowing to the brain and other vital organs until emergency medical help arrives. Early CPR can dramatically improve a child’s chance of survival and reduce the risk of permanent brain damage.
Although the basic principles of CPR are similar for adults, children and infants, there are important differences in how CPR is performed on younger casualties. Babies have smaller airways, more delicate bodies and different causes of cardiac arrest, meaning rescue breaths play an especially important role.
This guide explains how to perform CPR on an infant younger than 12 months, how to perform CPR on a child, and how to follow the Australian DRSABCD Action Plan.
When Should You Start CPR?
Delaying treatment while trying to determine exactly what’s wrong can reduce the chances of survival, particularly for infants and children whose cardiac arrest is often caused by a lack of oxygen. You should start CPR immediately if an infant or child:
- Is unresponsive and does not wake when you speak to them or gently touch them.
- Is not breathing normally.
- Is only gasping or taking occasional irregular breaths, as this is not considered normal breathing.
- Has stopped breathing following an incident such as choking, drowning, a severe asthma attack, an allergic reaction or trauma.
If you’re unsure whether CPR is needed, it is generally safer to begin CPR than to delay treatment. Starting CPR on someone who is unresponsive but still has a heartbeat is unlikely to cause serious harm, whereas waiting too long to act can have life-threatening consequences.
Once you’ve confirmed the infant or child is unresponsive and not breathing normally, call 000 (or ask someone else to call) and begin CPR immediately while following the DRSABCD Action Plan. Every minute counts, and early CPR can significantly improve the chances of survival until professional medical help arrives.
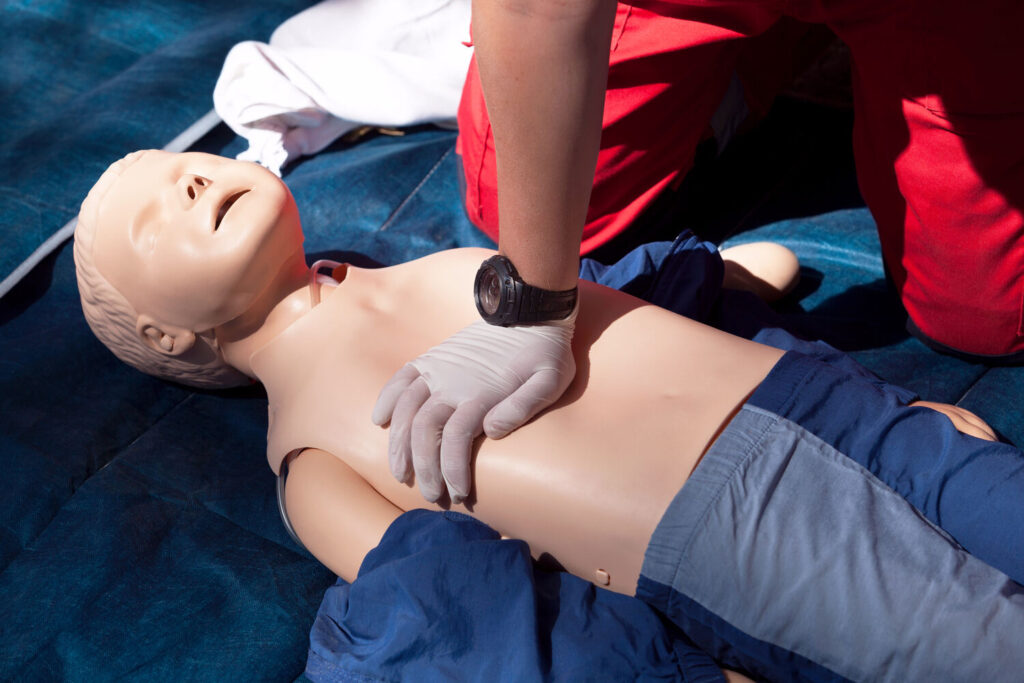
Infant or Child CPR: Quick Action Plan
When an infant or child collapses, it can be an incredibly frightening experience. Staying calm and following a simple step-by-step process can help you respond quickly and confidently while waiting for emergency services to arrive.
If an infant or child is unresponsive and not breathing normally, follow these eight essential steps:
- Check for danger: Make sure the area is safe for you, the infant or child, and anyone nearby.
- Check for a response: Gently try to wake them by speaking to them and checking for any movement or reaction.
- Call 000: Ask someone else to call an ambulance immediately, or call yourself using speakerphone if you’re alone.
- Open the airway: Carefully position the head to open the airway and check for any obvious obstruction.
- Check breathing: Look, listen and feel for normal breathing for no more than 10 seconds.
- Give 5 rescue breaths: If they are not breathing normally, provide five gentle rescue breaths.
- Begin CPR: Perform 30 chest compressions followed by 2 rescue breaths, repeating the cycle continuously.
- Continue until help arrives: Keep performing CPR until the infant or child starts breathing normally, emergency services take over, or you are physically unable to continue.
Use the DRSABCD Action Plan
The quick action plan above provides an easy-to-remember overview of what to do if a baby or child becomes unresponsive and stops breathing normally. In a real emergency, however, understanding why each step matters can help you stay calm, make good decisions, and act with confidence.
Across Australia, first aiders are taught to follow the DRSABCD Action Plan. This nationally recognised approach provides a simple, structured process for assessing an emergency, calling for help and beginning CPR when it’s needed.
Whether you’re caring for an infant, toddler or older child, following these steps helps ensure nothing important is overlooked during a stressful situation.
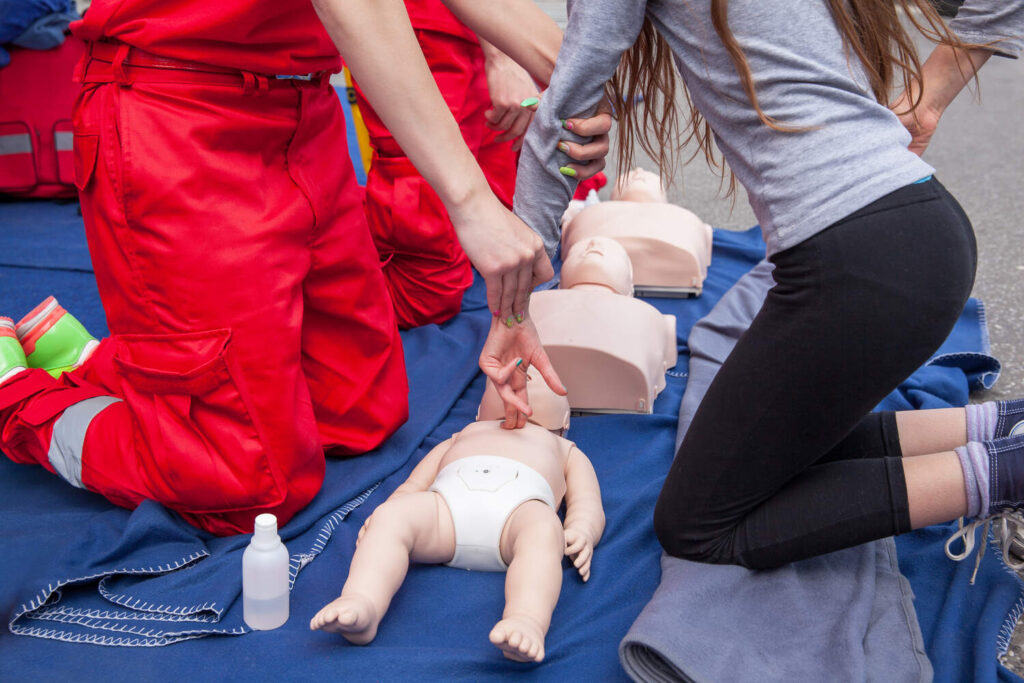
D – Danger
Before approaching the casualty, take a moment to assess the scene and make sure it is safe for everyone involved. Becoming injured yourself will only make the situation more difficult. Look for hazards such as:
- Traffic
- Electricity
- Fire or smoke
- Water hazards
- Falling objects
- Dangerous animals
- Violent situations
Only approach the casualty when it is safe to do so.
R – Response
Once you’ve confirmed the area is safe, check whether the infant or child is responsive. This helps you quickly determine the seriousness of the situation and whether emergency assistance and CPR may be required.
Speak to them in a calm but clear voice while gently tapping or touching them. For very young infants, gently tapping the foot or shoulder is recommended, while older children can be gently tapped or shaken on the shoulders. If there is no response, move immediately to the next step.
S – Send for Help
If the infant or child is unresponsive, call 000 immediately and ask for an ambulance. If someone else is with you, ask them to make the call while you begin providing first aid. If you’re alone and have a mobile phone, use the speaker function so you can continue caring for the casualty while speaking with the emergency operator.
If you need to leave to make the call, perform approximately two minutes of CPR first before briefly leaving to contact emergency services. The emergency call operator will remain on the line, provide instructions and guide you until paramedics arrive.
A – Airway
Before normal breathing can occur, the airway must be open and clear. Even a partially blocked airway can prevent enough oxygen from reaching the lungs, making it difficult or impossible to breathe effectively.
Young children have smaller, more delicate airways than adults, so it’s important to open the airway carefully and check for any obvious obstruction before assessing breathing.
For infants, keep the head in a neutral position, as tilting it too far backwards can narrow the airway. For older children, use a gentle head tilt and chin lift to help open the airway.
Look inside the mouth for obvious obstructions such as food, vomit or other foreign objects. Only remove an object if it is clearly visible and easy to reach. Never perform a blind finger sweep, as this may push the object further into the airway. Once the airway is open, immediately check for normal breathing.
B – Breathing
With the airway open, check whether the infant or child is breathing normally. This assessment should take no more than 10 seconds, as delaying CPR can reduce the chances of survival. Look for:
- Chest movement
- Normal breathing sounds
- Air movement from the nose or mouth
Occasional gasping or irregular breaths are not considered normal breathing.
If the casualty is breathing normally, continue to monitor them while waiting for emergency services. If appropriate, place them in the recovery position and watch for any changes in their condition. If they are not breathing normally, or are only gasping, begin CPR immediately.
C – CPR
If the infant or child is not breathing normally, every second counts. Begin CPR immediately while waiting for emergency services to arrive.
CPR combines rescue breaths with chest compressions to keep oxygen-rich blood circulating to the brain and other vital organs. Although the technique varies slightly depending on the child’s age, the CPR sequence remains the same.
- Give 5 initial rescue breaths.
- Perform 30 chest compressions.
- Give 2 rescue breaths.
- Continue repeating the cycle of 30 compressions and 2 rescue breaths.
Aim for a compression rate of 100 to 120 compressions per minute, allowing the chest to fully recoil after each compression. Continue CPR until:
- The infant or child begins breathing normally.
- Paramedics or another trained responder take over.
- You are physically unable to continue.
The next sections explain how to perform CPR on an infant and how to perform CPR on a child, including the correct hand position, compression depth and rescue breathing technique for each age group.
D – Defibrillation
An Automated External Defibrillator (AED) should be used as soon as one becomes available if the casualty is in cardiac arrest.
For children, follow the AED’s voice prompts and use pediatric pads or settings if they are available. Infants rarely require defibrillation, but if an AED with paediatric settings is available, it may be used according to the manufacturer’s instructions or as directed by emergency services.
Most importantly, never delay CPR while searching for an AED. Early, high-quality CPR remains the most effective treatment until professional medical help arrives.
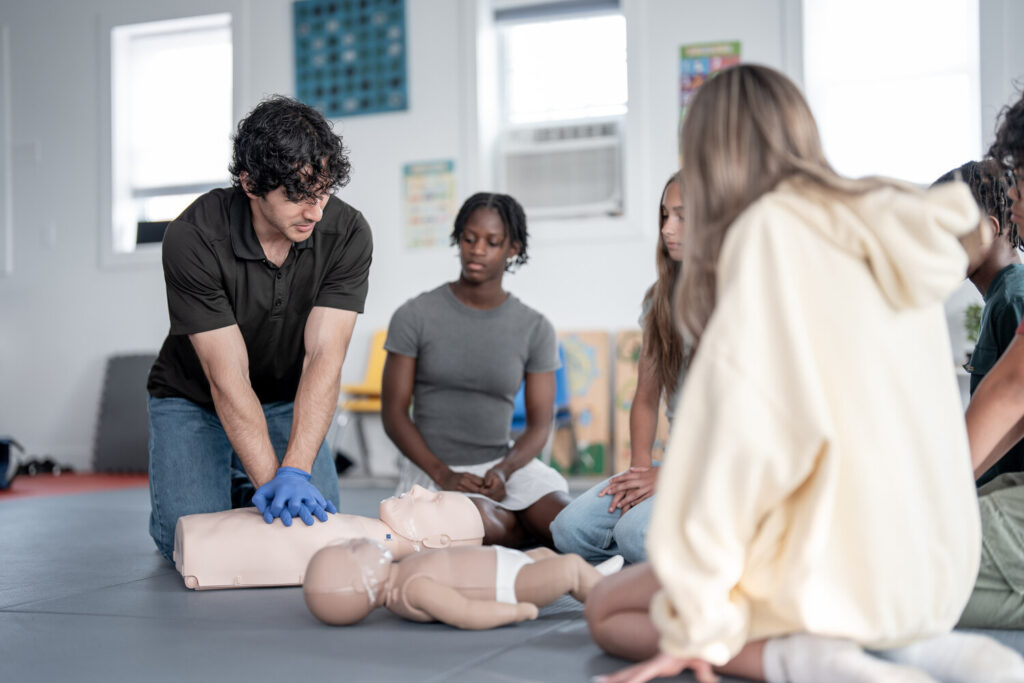
How to Perform CPR on an Infant
Once you’ve confirmed that an infant is unresponsive and not breathing normally, it’s time to begin CPR. Acting quickly is critical, as an infant’s brain can begin to suffer damage within minutes without oxygen.
Unlike many adult cardiac arrests, infant cardiac arrests are often caused by breathing problems rather than a primary heart condition. This is why rescue breaths are an essential part of infant CPR. They help restore oxygen to the lungs while chest compressions circulate oxygen-rich blood around the body.
If an infant younger than one year is unresponsive and not breathing normally, begin CPR immediately by following these steps.
Step 1 – Give Five Rescue Breaths
Place the infant on a firm, flat surface. Position the head in a neutral position. Cover both the infant’s mouth and nose with your mouth. Deliver five gentle breaths, watching carefully for the chest to rise after each breath.
Only use enough air to make the chest rise. Babies have very small lungs, so excessive force should be avoided.
Step 2 – Perform Chest Compressions
Place two fingers in the centre of the chest, just below the nipple line. Press down approximately one-third of the chest depth, which is around 4cm. Allow the chest to fully recoil after each compression. Maintain a steady rhythm of 100 to 120 compressions per minute.
Step 3 – Give Two Rescue Breaths
After 30 compressions, give two more gentle rescue breaths. Again, watch for visible chest rise.
Step 4 – Repeat
Continue the cycle of:
- 30 compressions
- 2 rescue breaths
Do not stop unless the infant begins breathing normally, qualified help takes over, or you are physically unable to continue.
Infants commonly experience cardiac arrest because they have stopped breathing first. This is why effective rescue breaths are such an important part of infant CPR.
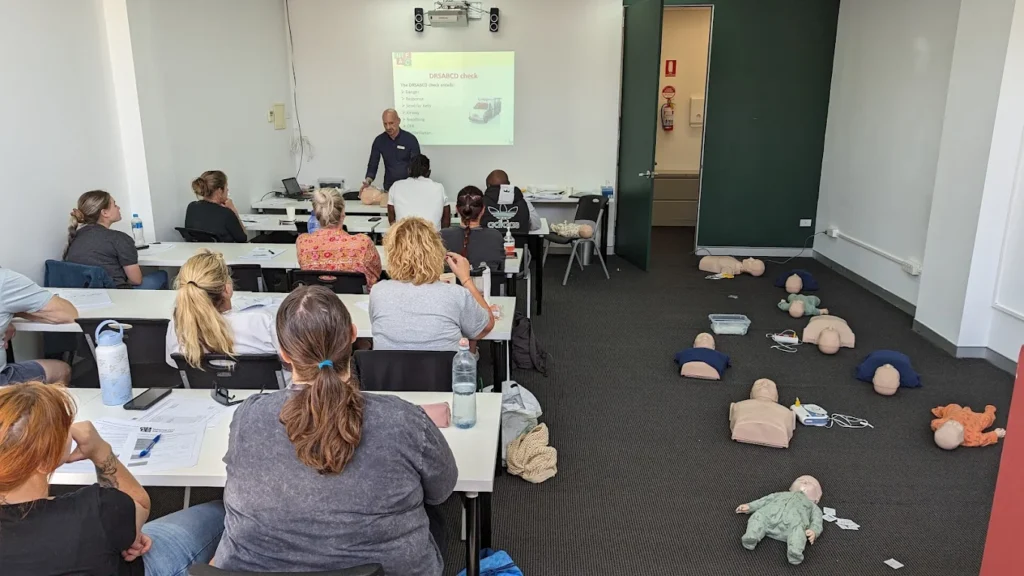
How to Perform CPR on a Child
The CPR process for children aged older than one year is very similar to infant CPR, but there are a few important differences in hand placement, airway position and compression depth.
As with infants, always begin by following the DRSABCD Action Plan. If the child is unresponsive and not breathing normally, start CPR immediately.
Step 1 – Give Five Rescue Breaths
Place the child on their back on a firm, flat surface. Gently tilt the head back and lift the chin to open the airway.
Pinch the child’s nose closed, seal your mouth over theirs, and give five gentle rescue breaths. Each breath should last around one second and be just enough to make the chest visibly rise.
If the chest does not rise, reposition the head and check that the airway is clear before trying again.
Step 2 – Perform Chest Compressions
Place the heel of one hand in the centre of the child’s chest, on the lower half of the breastbone. For larger children, you may need to use both hands, just as you would when performing adult CPR.
Compress the chest approximately one-third of its depth, which is about 5cm for most children. Aim for a steady rhythm of 100 to 120 compressions per minute, allowing the chest to fully recoil between each compression.
Step 3 – Give Two Rescue Breaths
After completing 30 compressions, give two rescue breaths. Watch for the chest to rise with each breath before returning immediately to chest compressions.
Step 4 – Continue CPR
Repeat the cycle of:
- 30 chest compressions
- 2 rescue breaths
Continue until:
- The child begins breathing normally.
- Emergency services take over.
- An AED advises you to stop for analysis.
- You become physically unable to continue.
Even if you are unsure whether the child is in cardiac arrest, beginning CPR is generally safer than waiting. Acting quickly gives them the best possible chance of survival.
Infant CPR vs Child CPR: What’s the Difference?
Although the CPR sequence remains the same, there are several important differences between infants and children.
|
Infants (Under 12 Months) |
Children (1 Year to Puberty) |
|
Two fingers for compressions |
One hand, or two hands for larger children |
|
Chest depth approximately 4cm |
Chest depth approximately 5cm |
|
Head kept in a neutral position |
Gentle head tilt and chin lift |
|
Mouth covers both nose and mouth during rescue breaths |
Mouth covers the child’s mouth while pinching the nose |
|
Smaller, gentler rescue breaths |
Slightly larger rescue breaths |
Understanding these differences helps ensure CPR is both safe and effective for the child’s age and size.

Why CPR Is So Important for Babies and Children
Many people think of cardiac arrest as something that mainly affects adults, but babies and children can also experience life-threatening emergencies that require CPR.
Unlike adults, whose cardiac arrests are often caused by heart disease, cardiac arrest in children is usually the result of a breathing emergency. If breathing stops and oxygen levels continue to fall, the heart can eventually stop beating.
This is why rescue breaths are especially important when performing CPR on infants and children.
By providing oxygen and circulating blood throughout the body, CPR helps keep the brain and vital organs alive until advanced medical care arrives.
Without oxygen, permanent brain damage can begin within just a few minutes. Early CPR can:
- Increase the chances of survival.
- Reduce the risk of permanent brain injury.
- Buy valuable time until paramedics arrive.
- Improve recovery outcomes after cardiac arrest.
Perhaps most importantly, CPR gives a child a fighting chance during one of the most critical moments of their life.
Common Reasons an Infant or Child May Need CPR
While cardiac arrest in children is rare, there are several situations where CPR may become necessary. These include:
- Choking that completely blocks the airway.
- Drowning incidents.
- Severe asthma attacks.
- Anaphylaxis (a serious allergic reaction).
- Serious infections affecting breathing.
- Electrocution.
- Smoke inhalation.
- Head injuries or major trauma.
- Suffocation.
- Certain congenital heart conditions.
In many of these emergencies, the child stops breathing before their heart stops. This is why recognising the problem early and beginning CPR immediately can make such a significant difference.
Remember, if a child is unconscious and not breathing normally, don’t wait to see if they improve. Call 000 and begin CPR immediately.
5 Common Mistakes to Avoid When Performing CPR
Even trained first aiders can feel anxious during an emergency. The good news is that CPR doesn’t have to be perfect to save a life, but avoiding a few common mistakes can make your efforts more effective.
Don’t Delay CPR
If an infant or child is unresponsive and not breathing normally, don’t wait to see if they recover. Every minute without oxygen reduces the chances of survival, so begin CPR immediately while someone calls 000.
Don’t Compress too Shallowly
Chest compressions need to be deep enough to circulate blood effectively. Aim to compress the chest by approximately one-third of its depth, allowing the chest to fully recoil between each compression.
Don’t Blow too Hard
Infants and young children have much smaller lungs than adults. Rescue breaths should be gentle. Only use enough air to make the chest visibly rise.
Don’t Stop Unnecessarily
Try to minimise interruptions between chest compressions and rescue breaths. Continuous CPR helps maintain blood flow to the brain and other vital organs until emergency services arrive.
Don’t Place your Hands Incorrectly
Position your fingers or hand in the centre of the chest on the lower half of the breastbone. Avoid pressing directly on the ribs or upper abdomen, as this may reduce the effectiveness of compressions.
Remember, the most important thing is to act. Prompt CPR gives an infant or child the best possible chance of survival, and doing something is almost always better than doing nothing.
Using an AED on an Infant or Child
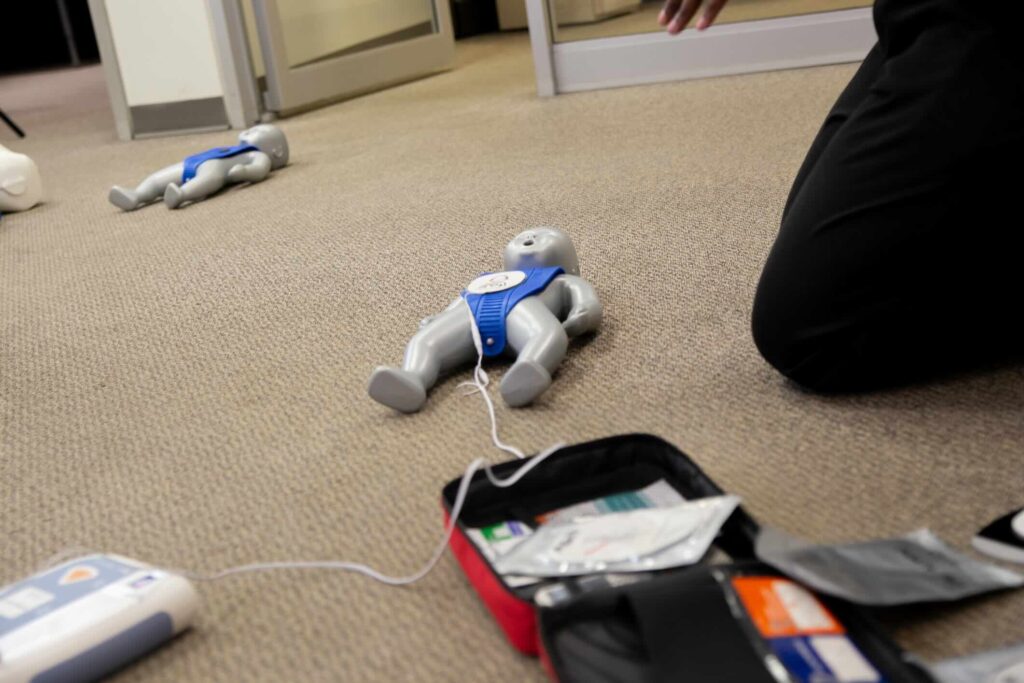
An Automated External Defibrillator (AED) can be a life-saving device when someone is in cardiac arrest. It analyses the heart’s rhythm and, if needed, delivers an electric shock to help restore a normal heartbeat.
Although AEDs are more commonly used on adults, they can also be used on children and, in some circumstances, infants.
AEDs for Children
If a child over one year of age is in cardiac arrest, use an AED as soon as one becomes available.
If the AED has paediatric pads or a child mode, use these according to the manufacturer’s instructions. The device will automatically reduce the amount of energy delivered.
If paediatric pads are not available, most modern AEDs can safely be used with adult pads. Follow the voice prompts provided by the device and continue CPR whenever instructed.
AEDs for Infants
Cardiac arrest in infants is extremely uncommon, and the need for an AED is rare. However, if an infant under 12 months experiences cardiac arrest and an AED with paediatric pads is available, it may be used according to the manufacturer’s instructions or as directed by emergency services.
If only adult pads are available and no alternative exists, follow the advice of the emergency operator. Importantly, never delay CPR while searching for an AED. High-quality chest compressions and rescue breaths remain the most important treatment until advanced medical care arrives.